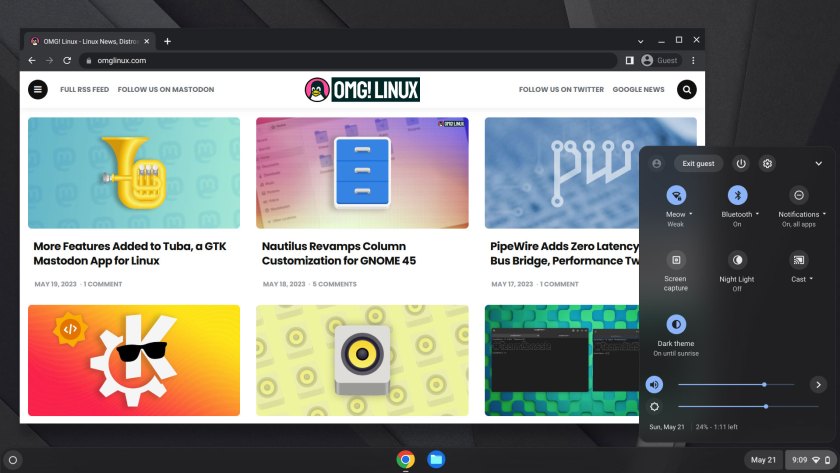
It’s now possible to make a ChromeOS Flex USB on Linux.
Thought we could already?
So did I, but it turns out we couldn’t.
As noted by our friends at Neowin, until recently Google only made it possible to create a bootable Chrome OS Flex USB using the Chromebook Recovery Utility, an app that only officially supports Windows, macOS, and ChromeOS.
Thankfully, this is no longer the case.
Google now provide a direct download of the ChromeOS Flex installer image. This image can be written/flashed/burned to a USB flash drive on Linux using a GUI app like Balena Etcher or, for those more comfortable at the command line, the trusty dd tool.
The image download comes as a ZIP. This needs to be unpacked to get the BIN file inside. The extracted BIN is around 6 GB in size so any USB you plan to flash it to must be >8 GB in size.
The process from there is simple.
- Download the ChromeOS Flex image from here
- Extract the ZIP download to get a BIN file
- Insert a USB of 8GB or greater in your computer
- Open Balenda Etcher
- Select the Chrome OS Flex BIN file
- Select your USB (double check)
- Hit write/flash
Prefer the command line?
Flash it using dd:
sudo dd if=flex.bin of=/dev/sdN bs=4M status=progressWhere flex.bin is the location of the downloaded installer file, and /dev/sdN is the USB drive identifier (you can find this out using the Disks Utility app, it’s often sdb – omit the number). The bs value improves the flash speed, while status keeps you informed as it writes.

Flashing Chrome OS Flex takes a bit of time, especially if you’re writing to an older (and slower) USB 2.0 drive. If running the dd command do be patient – it can look like the process has stalled or stopped at some points but it hasn’t, you just need to be patient.
Once done, use the USB to boot Chrome OS Flex on any PC or laptop with at least 4GB of RAM and a not-too-ancient CPU. The steps to boot from a USB vary by device, manufacturer, model, etc. See the Google Support page for pointers.

Once you’re booted into ChromeOS Flex you can try it as a live system as a guest before installing it.
Providing you are on a relatively modern device, ChromeOS Flex performs well. Due to the sheer variety of hardware out there the experience won’t be the same for everyone. Test it out thoroughly, check your webcam works, touchpad, wi-fi, bluetooth, etc before installing.
A note on that.
You can’t dual-boot Chrome OS Flex with any other operating system (including Linux). Also, if you choose to install ChromeOS Flex it will erase the ENTIRE primary SSD, eMMC, or HDD, etc — there’s no partition editor — backup important files before you continue.
Personally, I wasn’t willing to do go all-in with Flex, so I exited the guest session, shutdown my laptop, and removed the USB. I’m happy using “proper Linux”.
But ChromeOS Flex is a great way to repurpose unused laptops, turning them in to fairly a capable and safe “Chromebook” – ideal for less tech-inclined people in your life.

